Hello everyone!
Today, we’ll reveal more about the upcoming map ‘Ali Al Muntar’, from its history to its features, and of course, the role of the tanks in Gallipoli!
Second Battle of Gaza
The Ottoman Raid on the Suez Canal in February 1915 highlighted the potential danger to key British strategic positions from a force attacking out of Palestine across the Sinai Desert. The formation of the Egyptian Expeditionary Force in March 1916 was intended to defend the Suez Canal.
To achieve this, its commander, General Archibald Murray resolved to be proactive. He pushed the Canal’s defenses into the Sinai and defeated the Ottoman forces he encountered. With the way ahead clear he advanced into Palestine and, in March 1917, attacked the strategically important town of Gaza. It was well-defended with trenches built around thick cactus hedges planted by farmers. This first battle was a muddled mess. With the British on the verge of victory, Murray came to believe he was being outflanked and withdrew his forces.
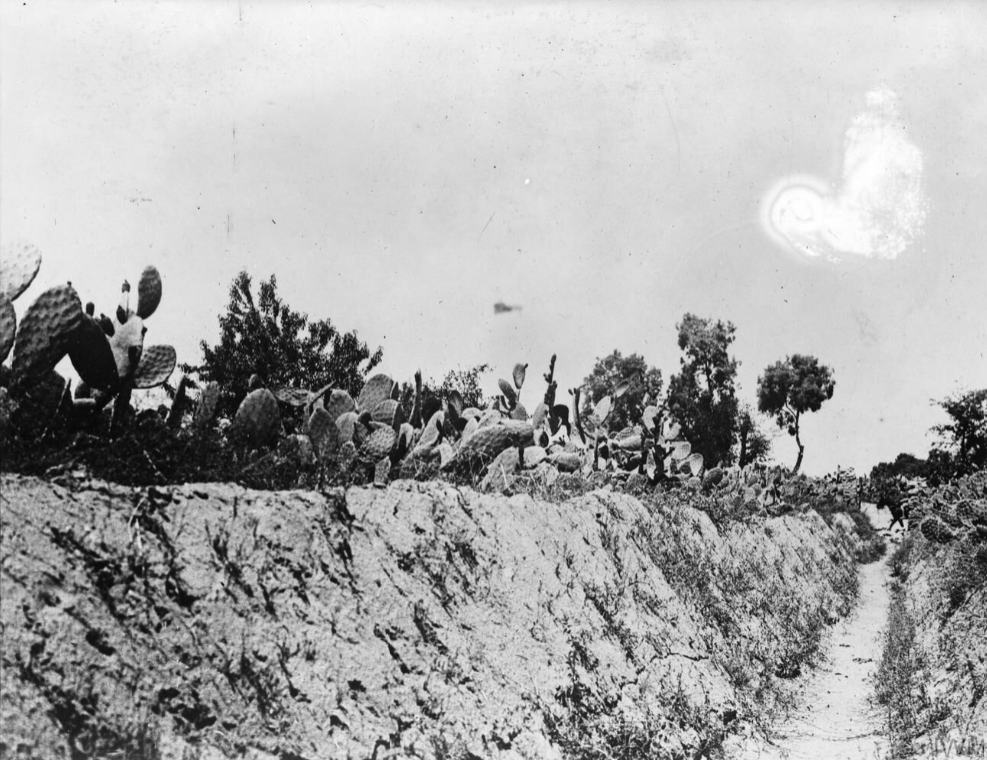 The British Army in the Sinar and Palestine Campaign, 1915-1918. IWM (Q 12757)
On April 19th he tried again, drawing on tanks, mounted units, infantry and gas shells. Most of the tanks were destroyed by artillery fire, or disabled by the terrain. The attacking infantry could not reach the city, and men of the 52nd Division struggled to capture the vital hill, Ali-al-Muntar (also known as al-Muntar, Tell Ali Muntar, Ali el Muntar, or many other variations). The defeat cost Murray his position and he was replaced by General Edmund Allenby who would capture Gaza in November 1917 and, then the following year, help conclusively defeat the Ottoman armies in the field. This brought an end to over 400 years of Ottoman rule in Palestine.
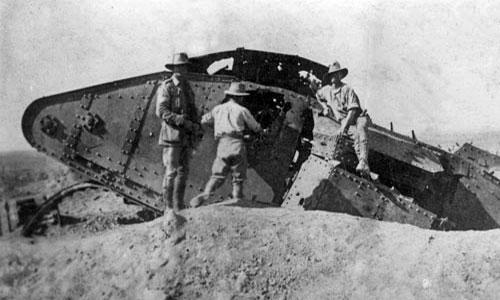
Destroyed British tank at Gaza, URL: https://nzhistory.govt.nz/media/photo/destroyed-british-tank-gaza, (Manatū Taonga — Ministry for Culture and Heritage), updated 22-Aug-2013
Before we look at Ali Al Muntar in Gallipoli, we’d like to take a second to reaffirm that the inclusion of Ali Al Muntar, and by extension Gaza, is purely for the historical significance of the battle on this front in World War 1.
Of course, we do realize that Gaza is a sensitive topic. Our community is not the place to discuss present-day world events. We ask you to keep your conversations respectful and historical.
Ali Al Muntar
The British advance on Ali Al Muntar starts off escorted by several MK I tanks. These tanks slowly drive towards Samson Ridge by themselves, firing their two 6-pounder QF guns and three Hotchkiss Machine Guns towards the Ottomans. You must remain on foot to capture the sectors ahead.
As the attackers, you need to worry about crossing this hilly but open area unscathed. You’ll want an organised push to capture the objective at Samson Ridge and the nearby orange tree orchard on Umbrella Hill, and you could consider using a tank as cover.
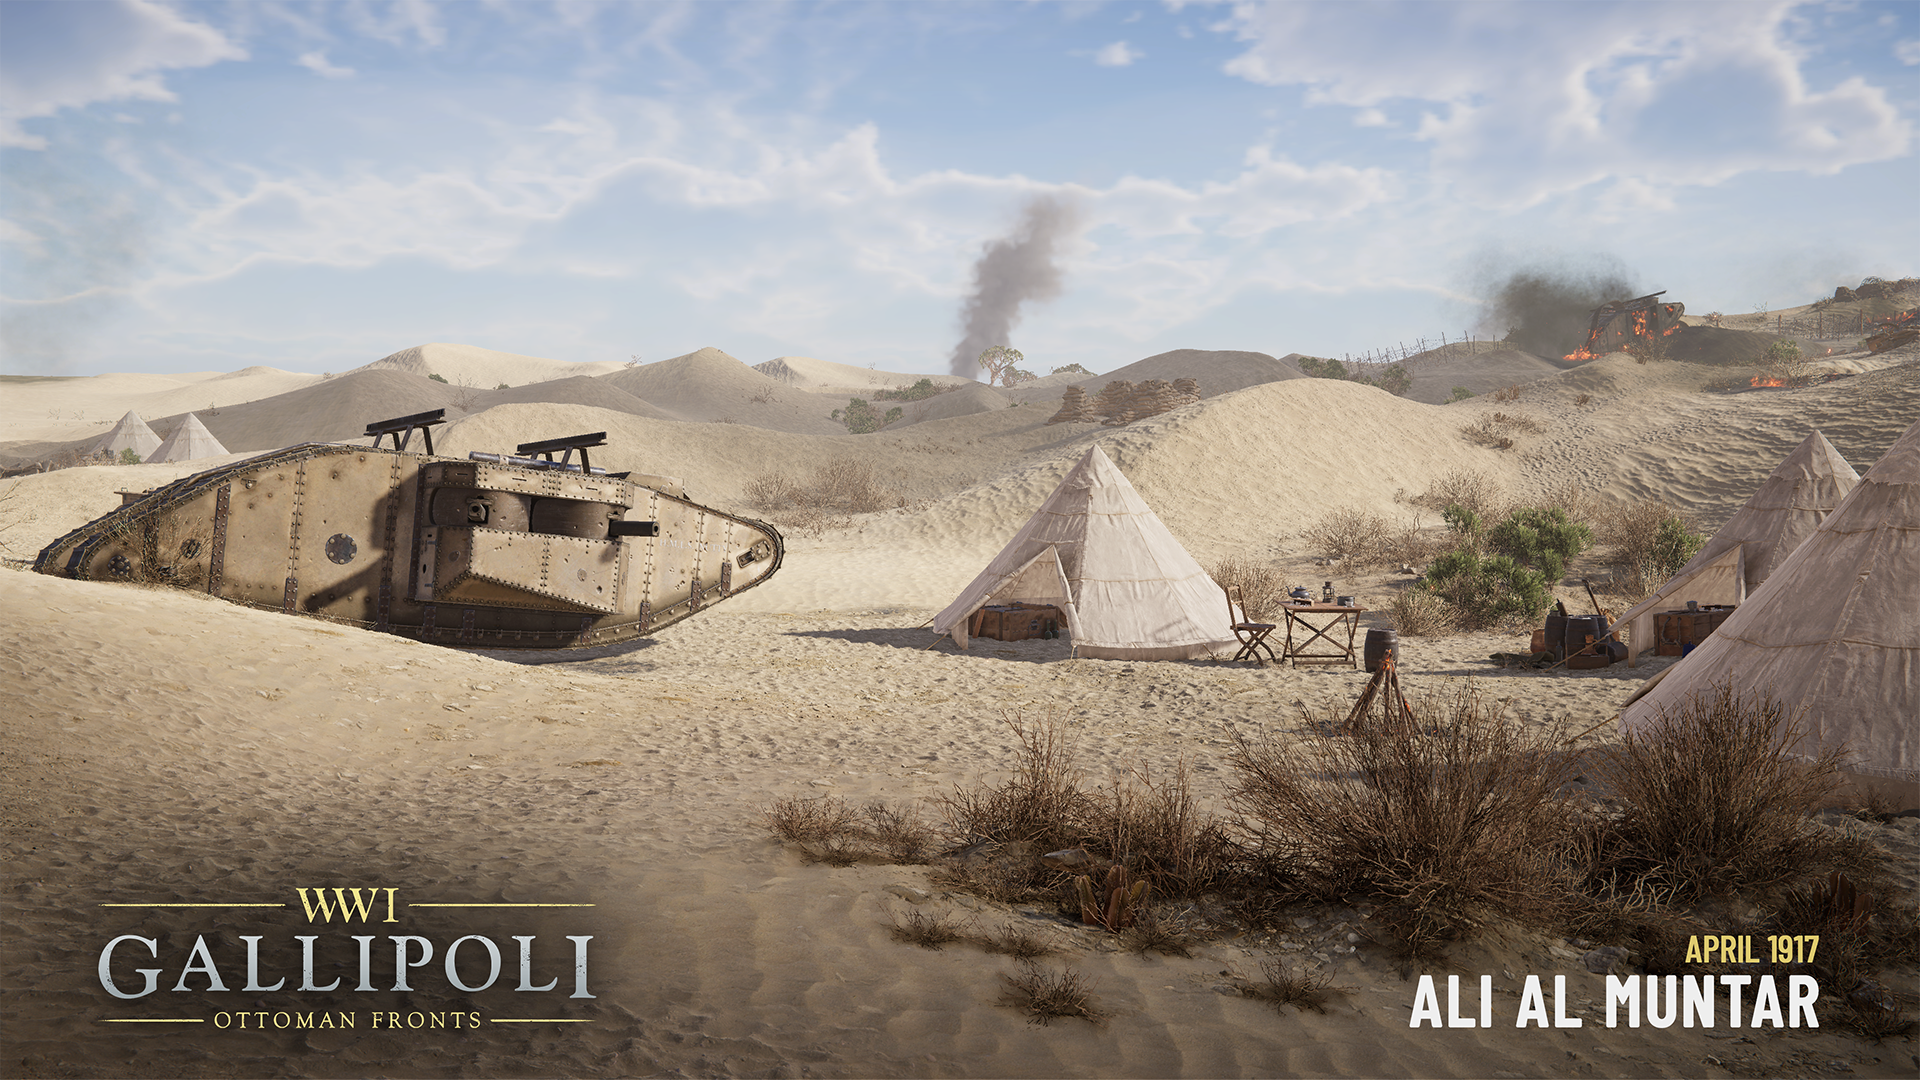
The Ottomans have something in store for the tanks however. Spoiler alert: their artillery will take out the tanks as they’re about to reach the first sector. A big loss for sure, but soldiers at the time had to continue fighting after their tanks were knocked out - and so must you!
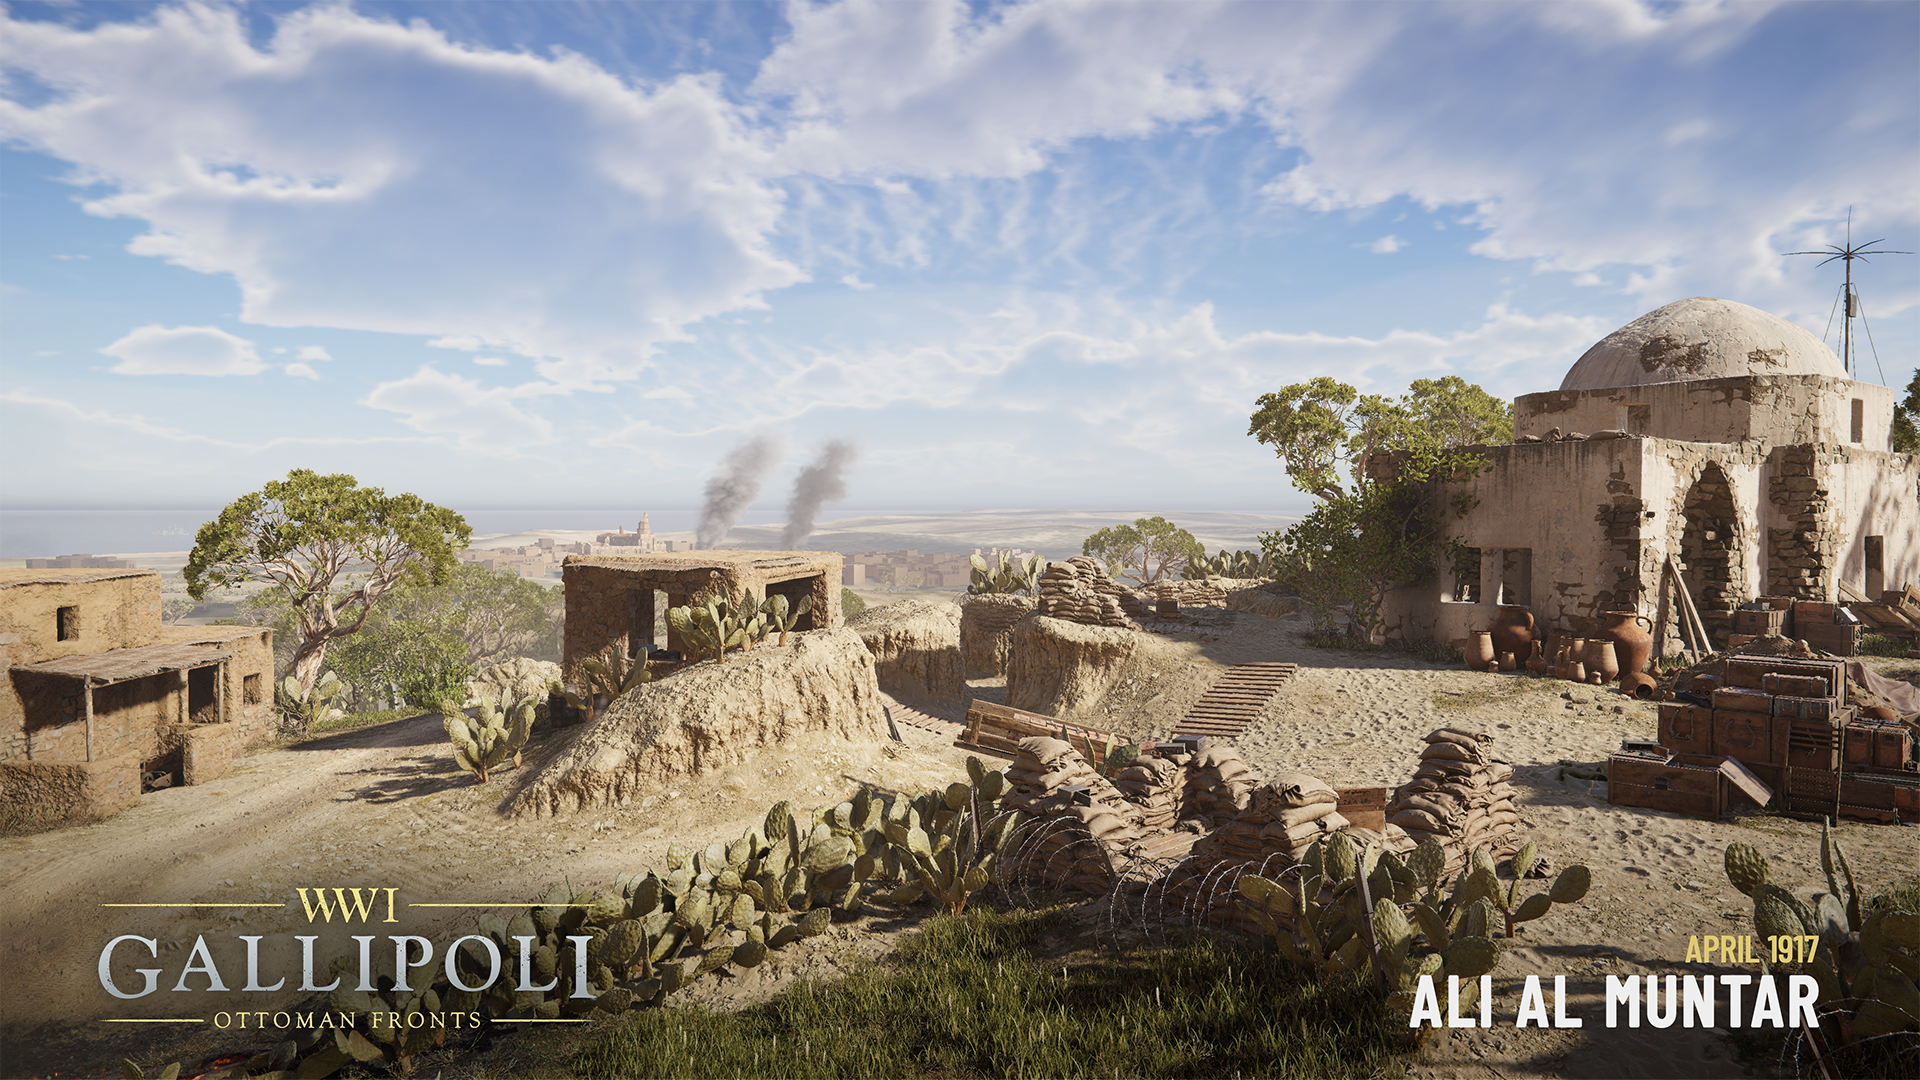
The first sector consists of the aforementioned Samson Ridge, an elevated bunker that provides excellent line of sight and protection to the defenders. Umbrella Hill on the other hand is a similarly defensive network of trenches, but sits lower.
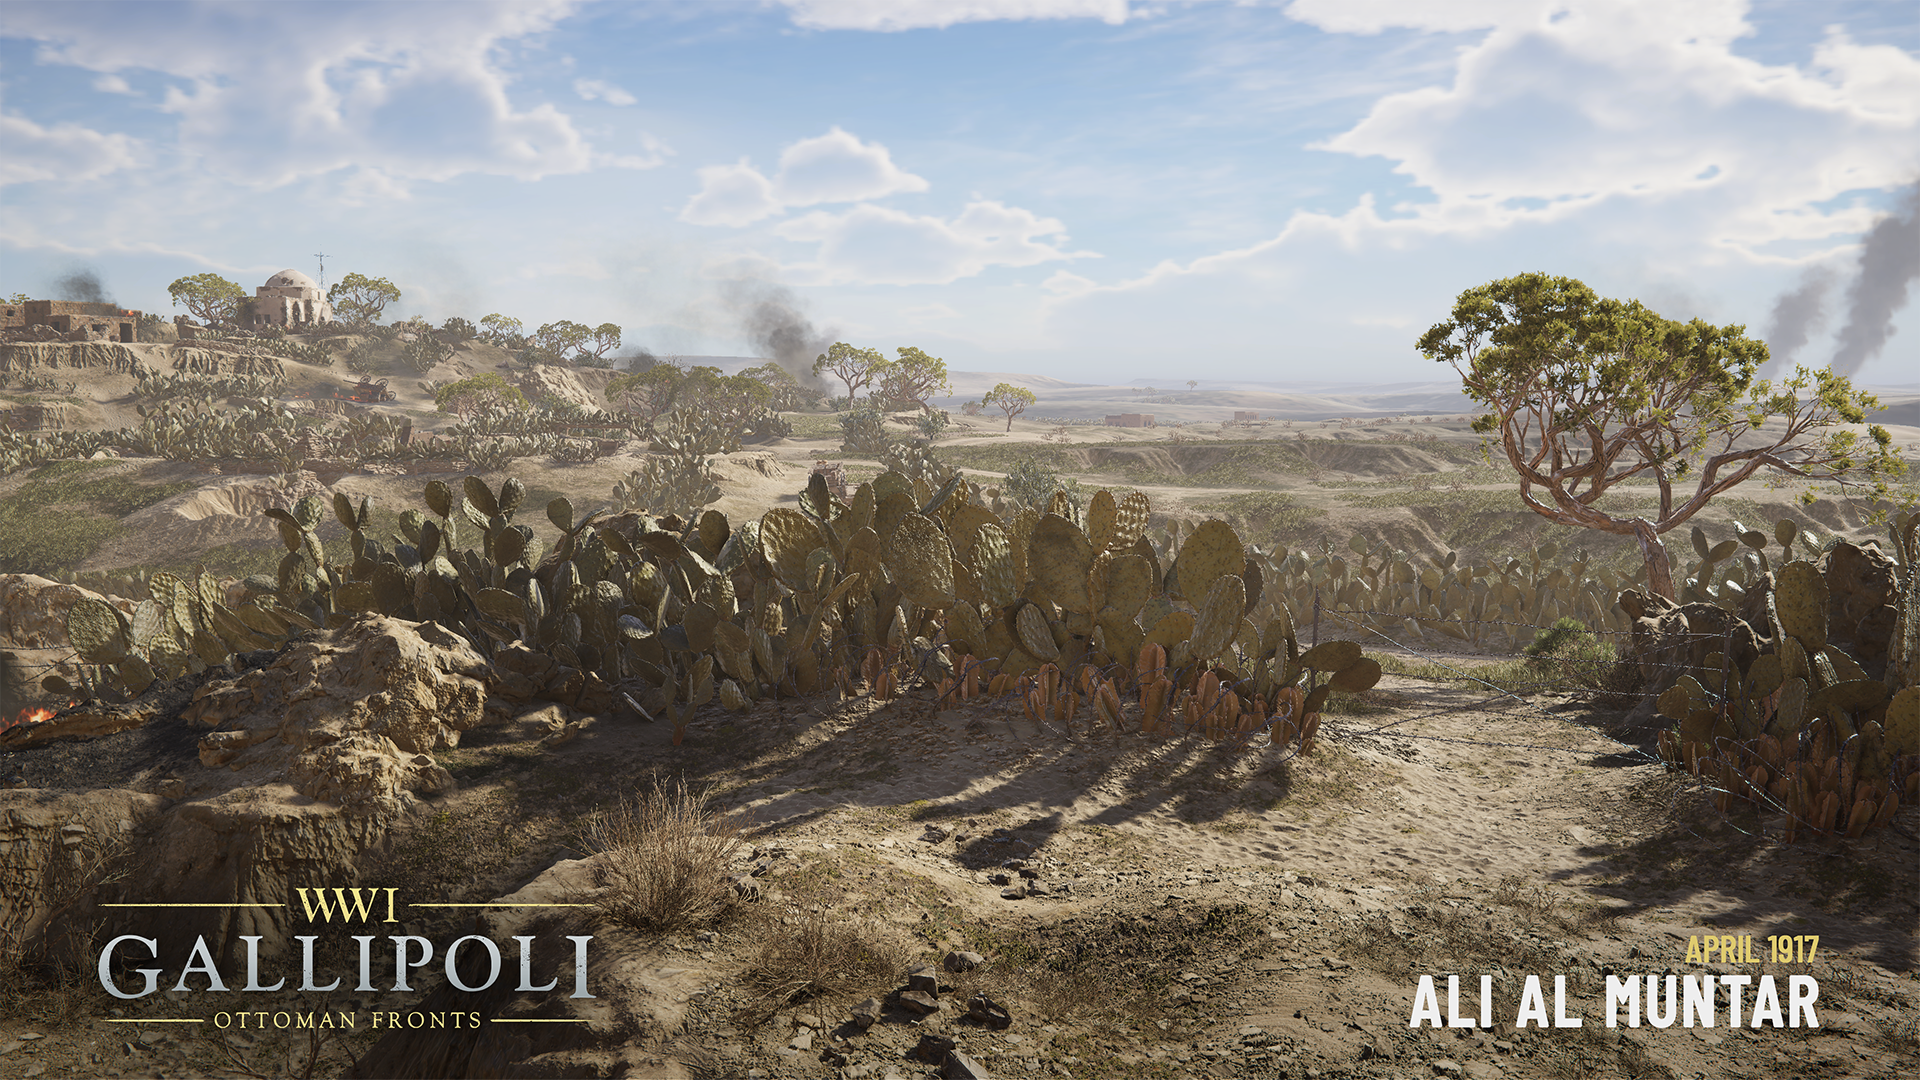
After capturing the first sector, the British (now rather tankless) move on towards the farms.
One of the region’s main exports during WW1 was Opuntia, or Prickly Pear Cactus. These were grown on the edges of farms, where almost no other plant would grow. The fruits are a popular refreshing snack, but the leaves could be eaten as well in a pinch.
Back in the game, these walls of large cacti make the battlefield more suited for close to medium range combat. Long rows create narrow choke points and long straights. The cactus walls do allow you to see through them if you can find the right spot, but it may prove difficult to hit a mobile target.
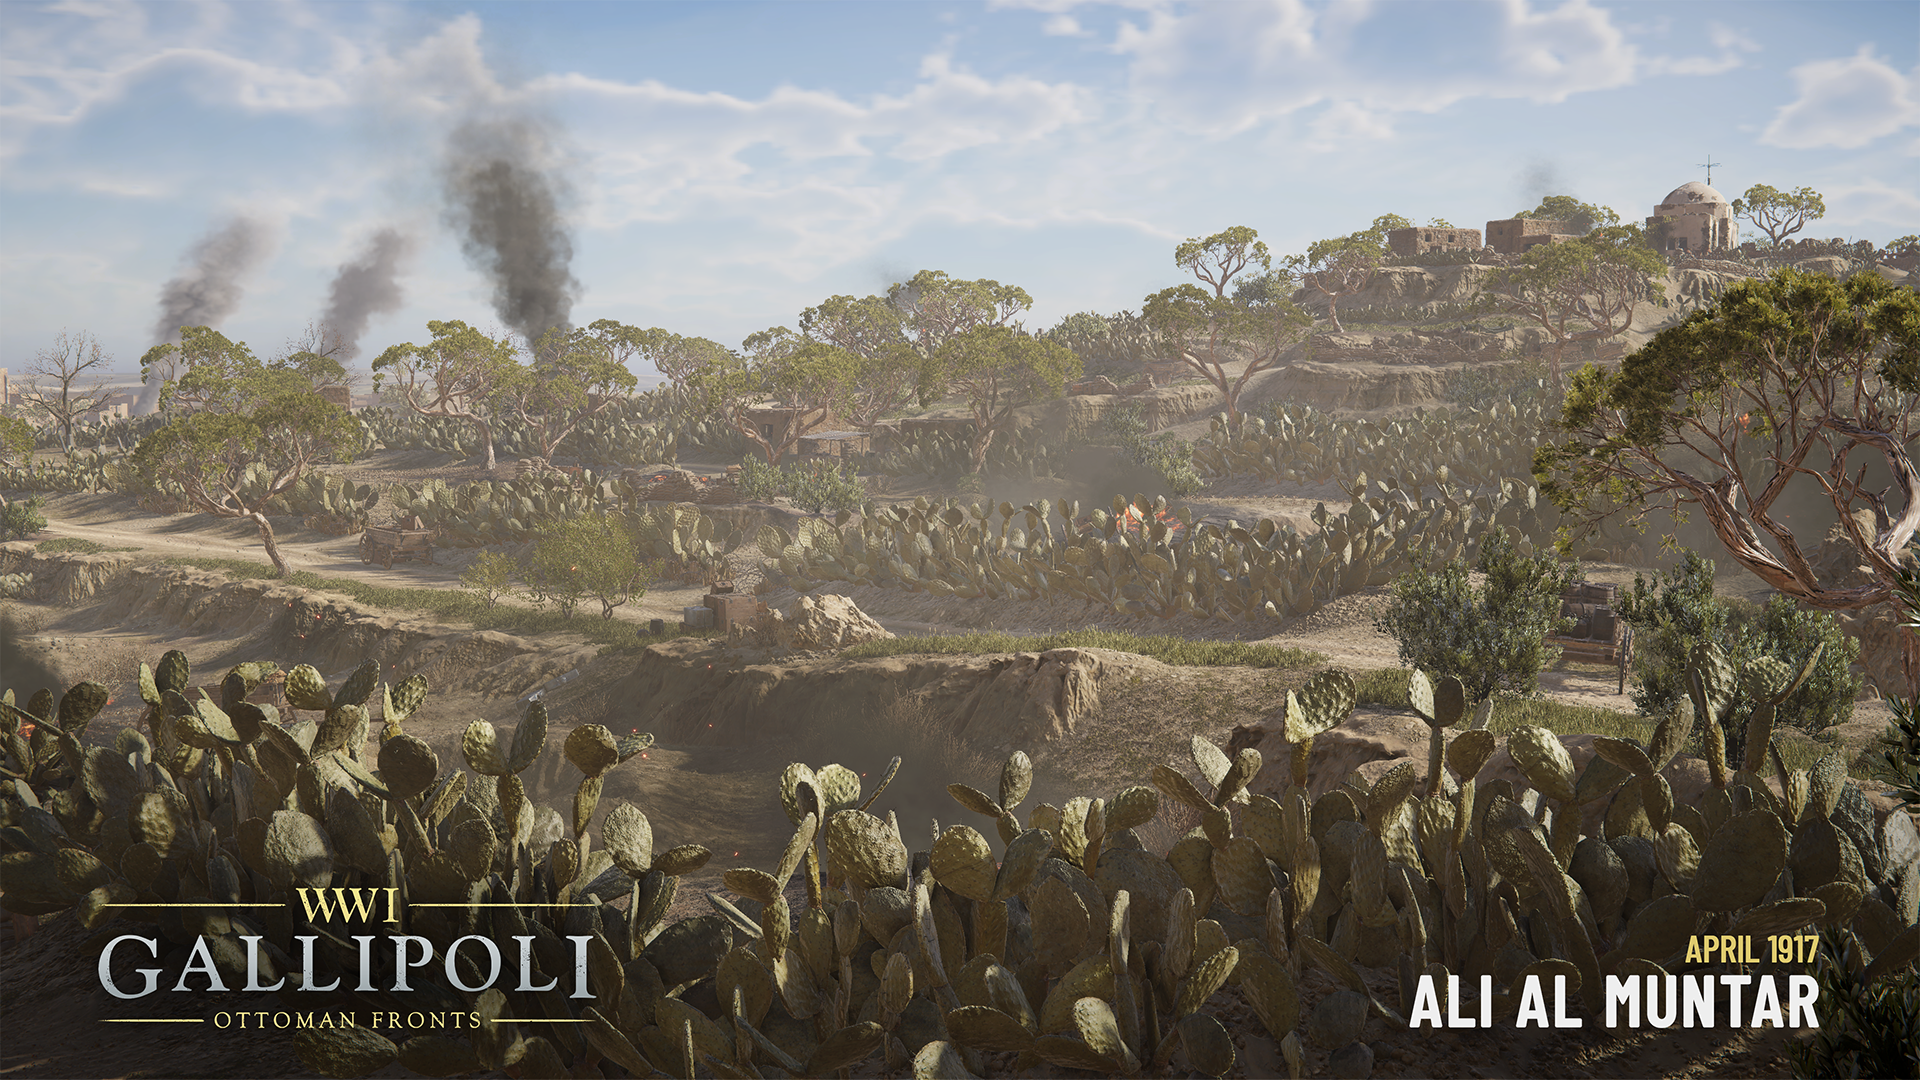
The leftmost objective of Sector 2 sits in a clearing of the the farmland. The objective on the right is ‘The Labyrinth’, a trench network just in front of ‘Green Hill’. It’s somewhat elevated, allowing its defenders to look over the cactus walls. Snipers will love this position, so those crossing the farms should keep their head low.
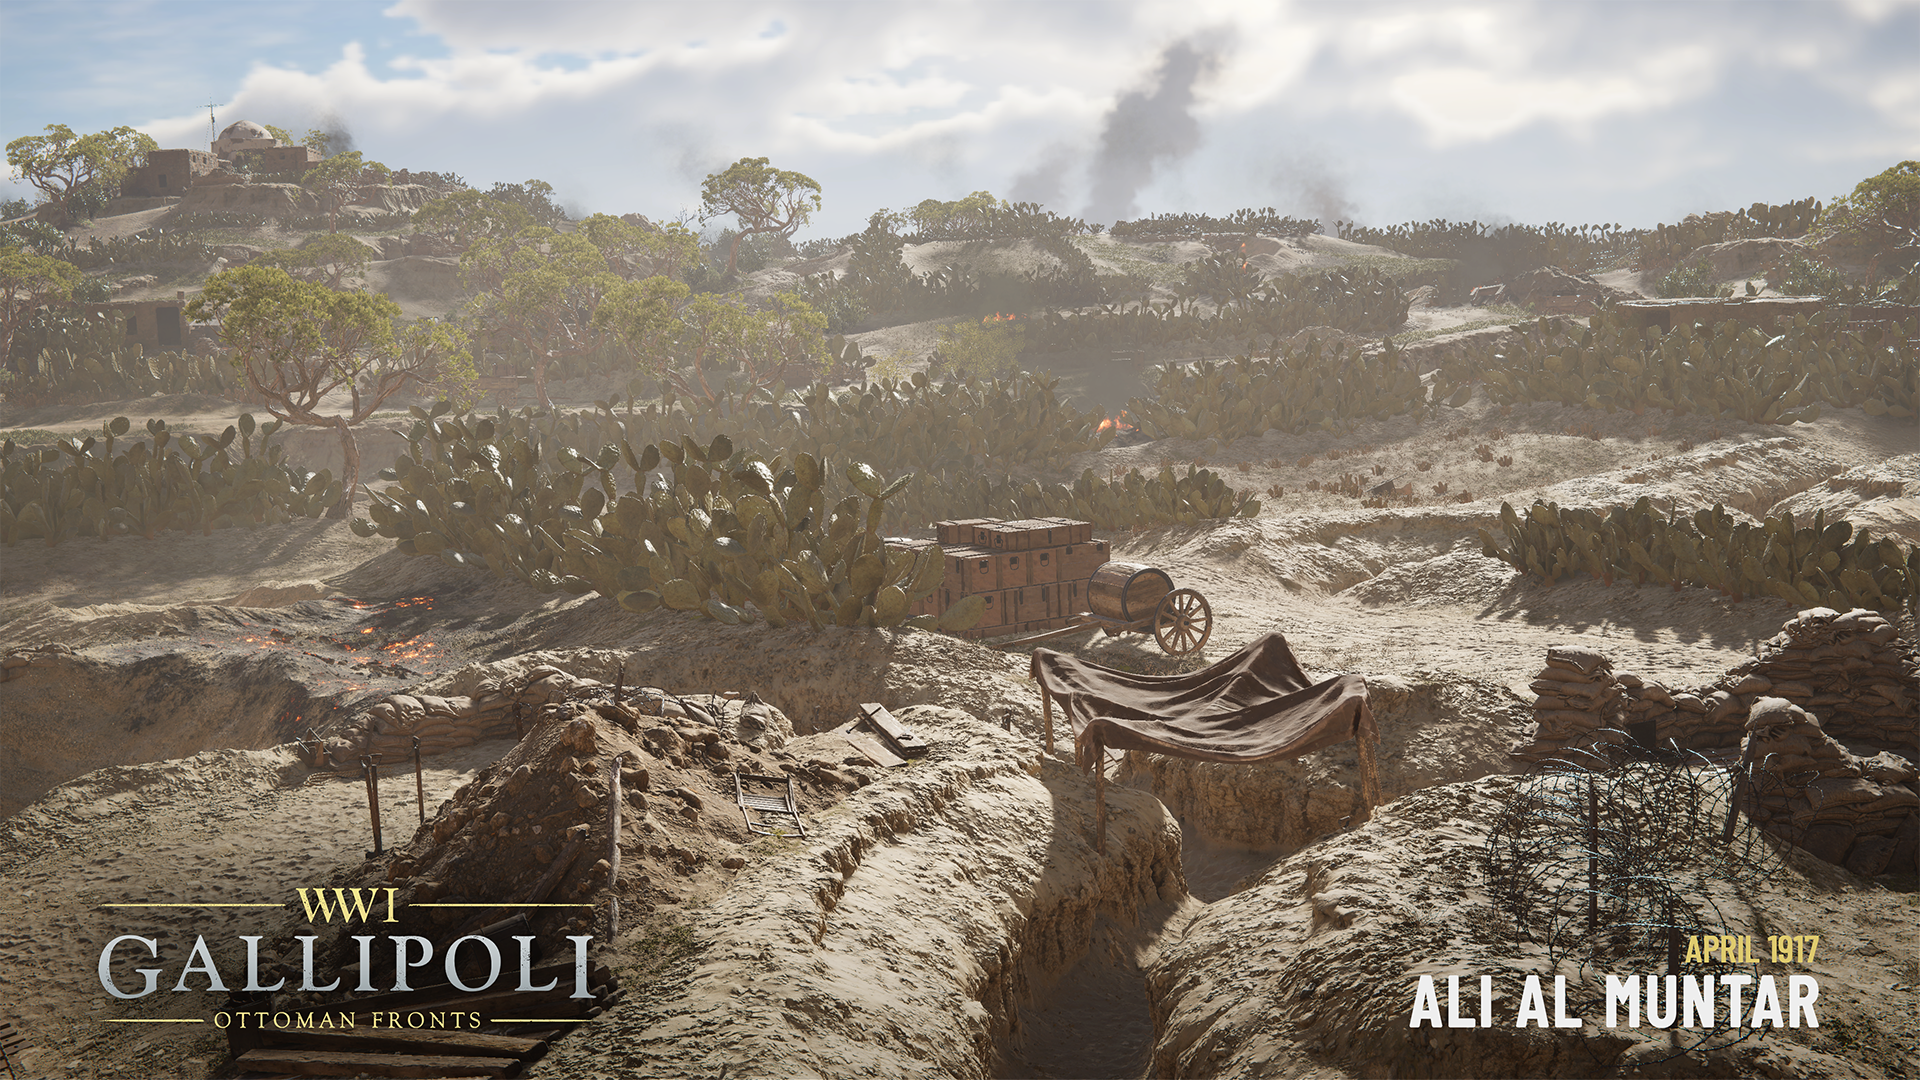
For the final sector, we move up Tell Ali Muntar. There are many roads, rows of cacti and trenches that lead up the mound from all sides, but the shrine at its summit is a highly defensible position. It’s up to the attackers to decide whether to go for an all-out frontal assault, or surround the mound and attack from all sides. It remains, however, an uphill battle.
That’s it! You can expect another blog before October 1st that covers the 4 new weapons and the 2 new DLC also included in the Ali Al Muntar Expansion. See you then!
