We all know the feeling – you're working on your factory and everything is going smoothly, then suddenly a shortcut you took or temporary setup you made hours ago comes back to haunt you. Maybe your ratios are off, a belt goes the wrong way early on in production, or your spaghetti designs are catching up to you. Well, shapez 2 has a bunch of features to help you building polished setups with ease, or troubleshoot any potential issues.

Effective Blueprints
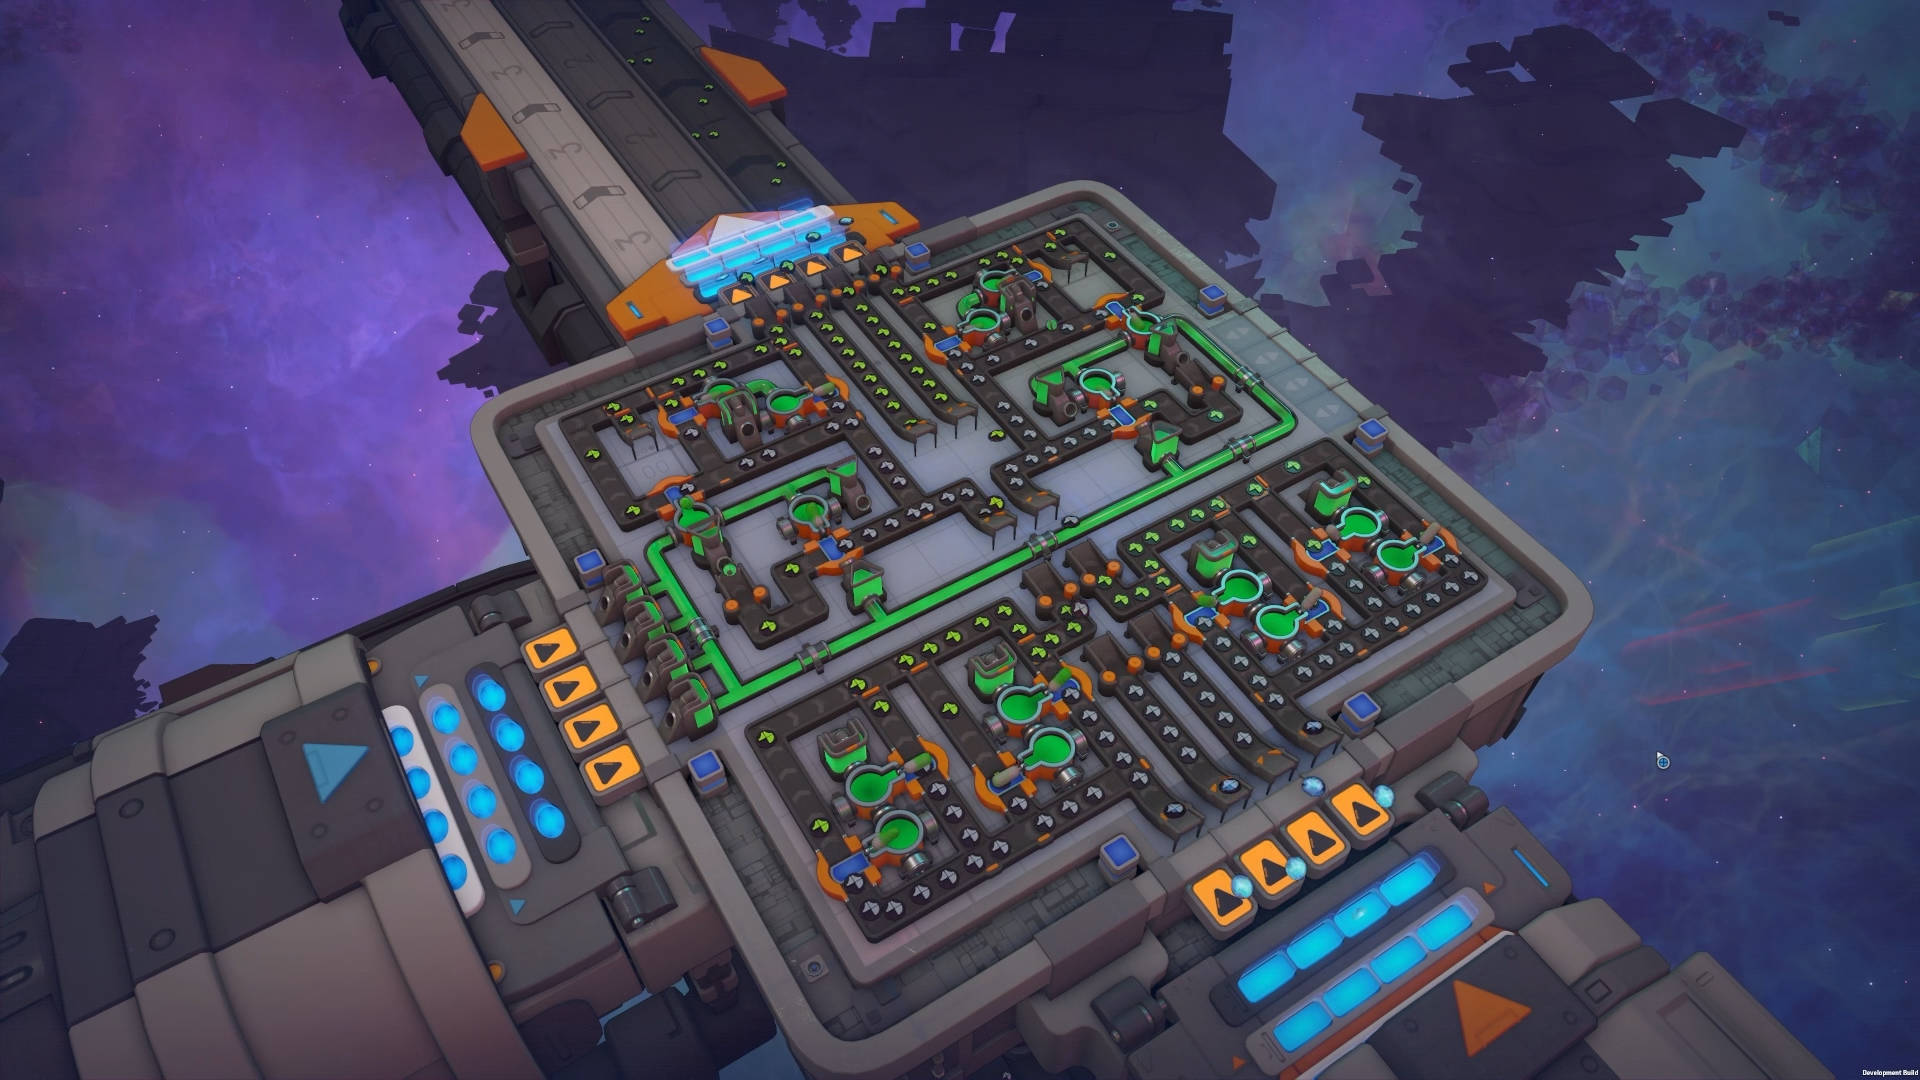
When you're just starting off with shapez 2, it's easy to see a task and start making a bespoke setup to complete it. However, after completing a handful of tasks, your factory may end up disorganised as you snake your production lines over, under and through each other. There's nothing wrong with this; everyone builds differently. But effective use of blueprints can save you a lot of work and troubleshooting in the future.
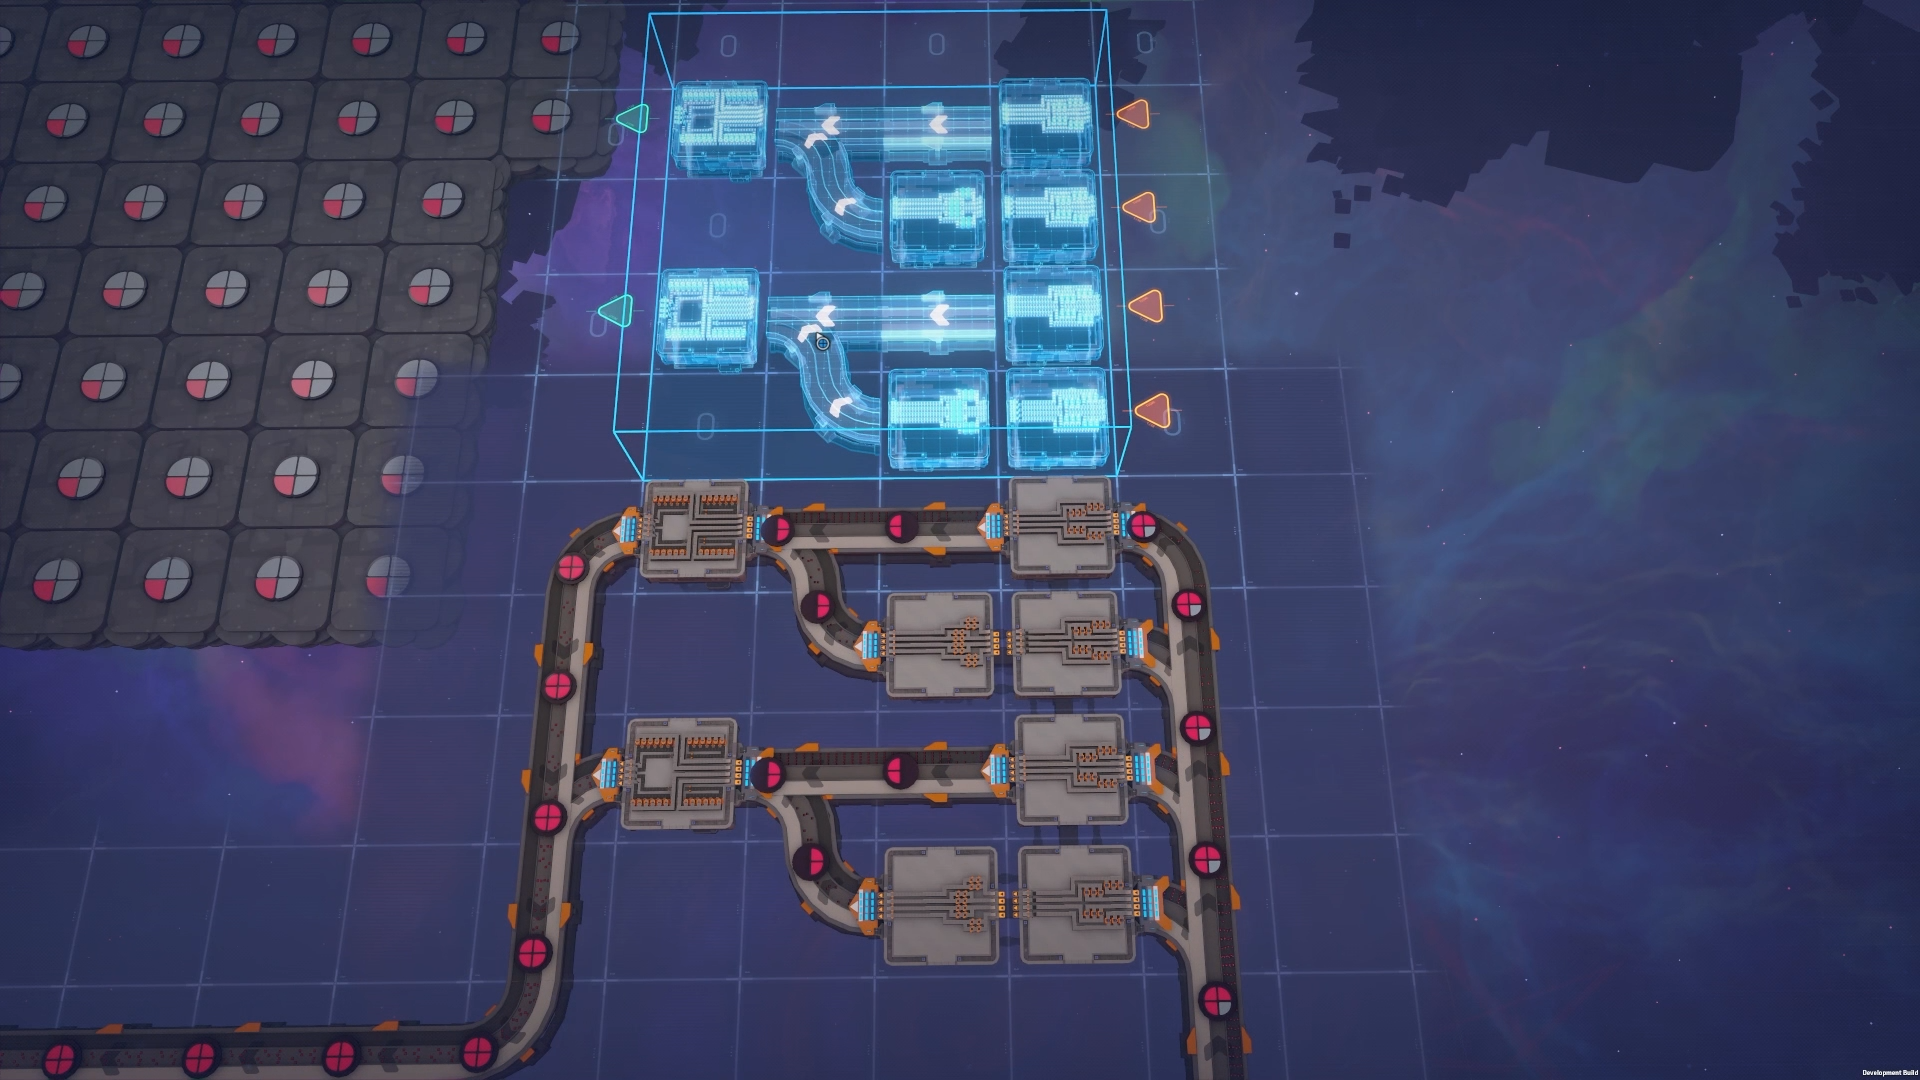
What you could try instead is make platform blueprints that handle one specific action. Make a platform that rotates shapes, make a platform that cuts quadrants, make a platform that moves shapes up a level, make one that paints them, etc. Instead of figuring every step out again and again and trying to fit everything on a single platform, you can connect a bunch of platform blueprints that each handle an action in the desired order. You don't have to reinvent the wheel for every task!
Understanding Throughput
Buildings
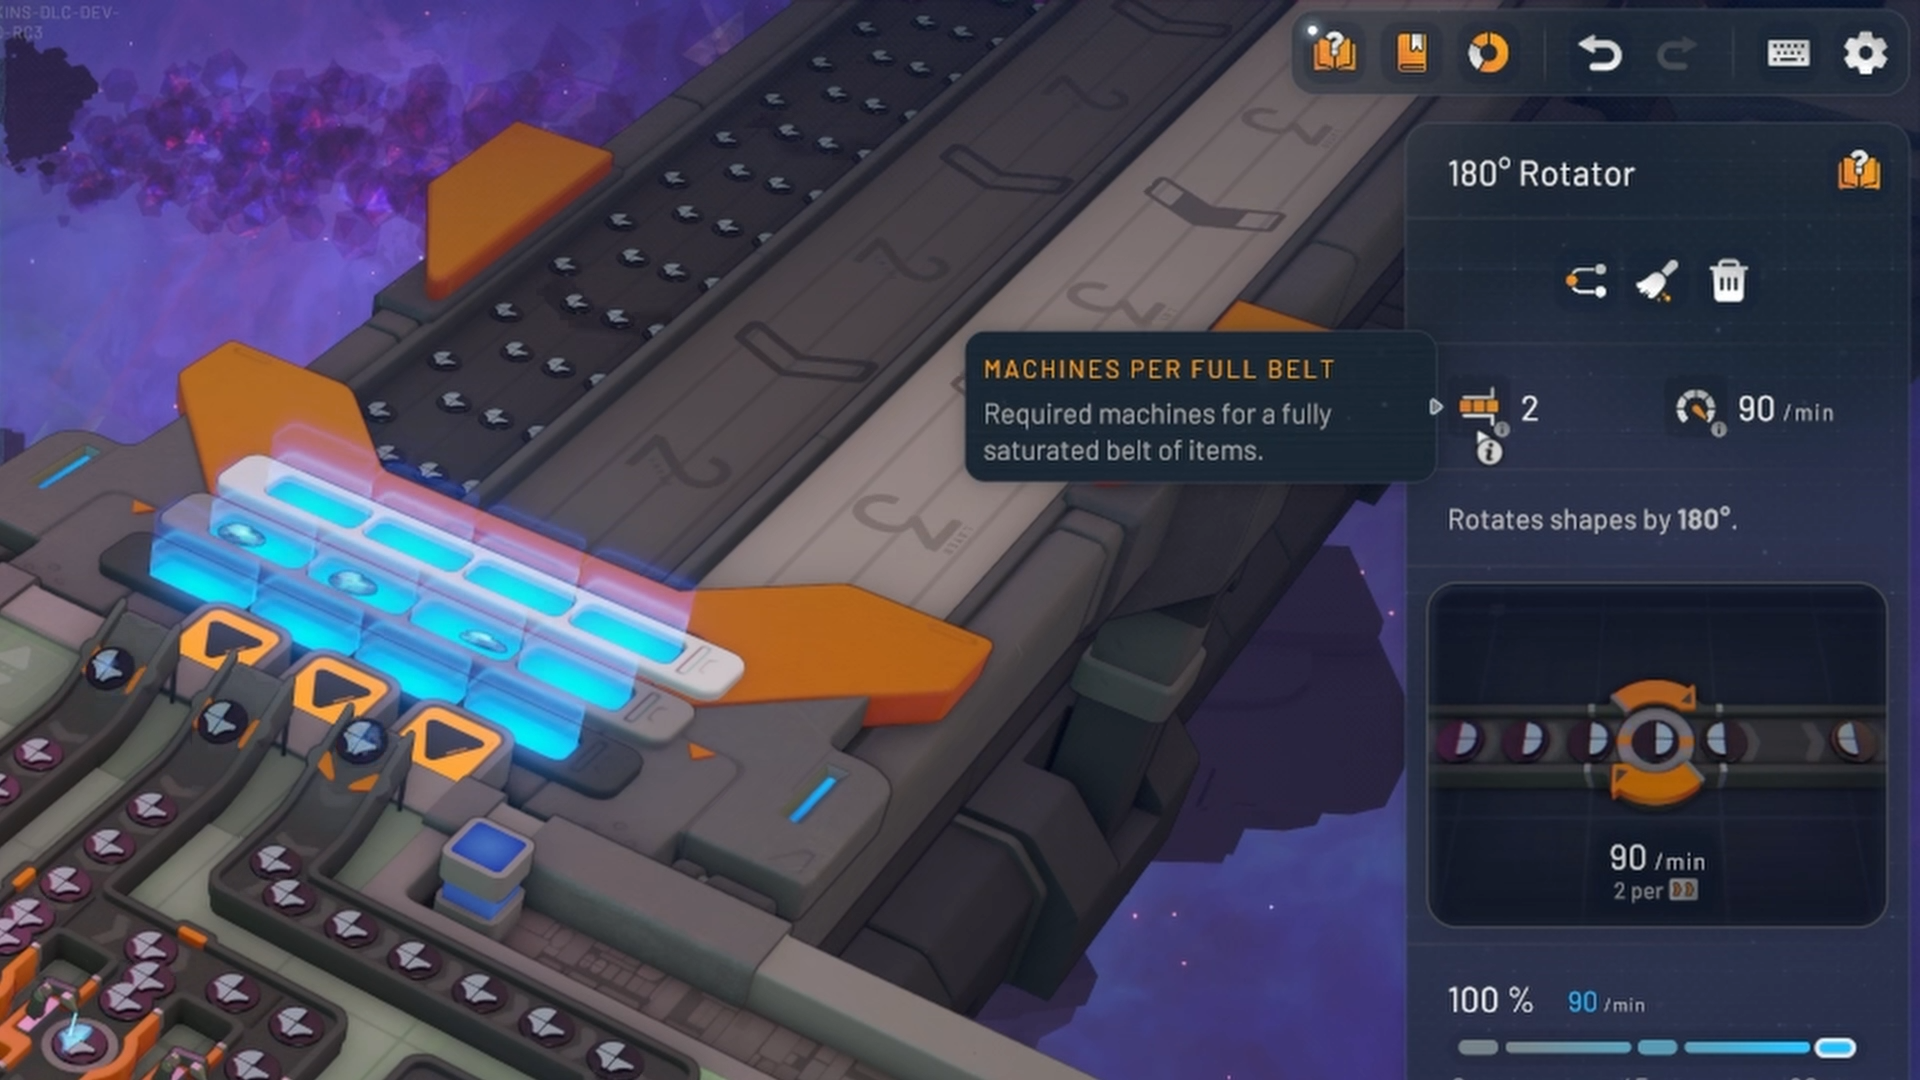
Whenever you've selected a building, an info box pops up on the right side of your screen. This contains some really useful information, including how many of that building you need to process a full belt. Measuring in full belts is a good standard to hold to, as it will save you a lot of calculations down the line. So instead of guesstimating how many you need and adding or removing buildings as necessary, you can simply see what the right amount is in the info box.
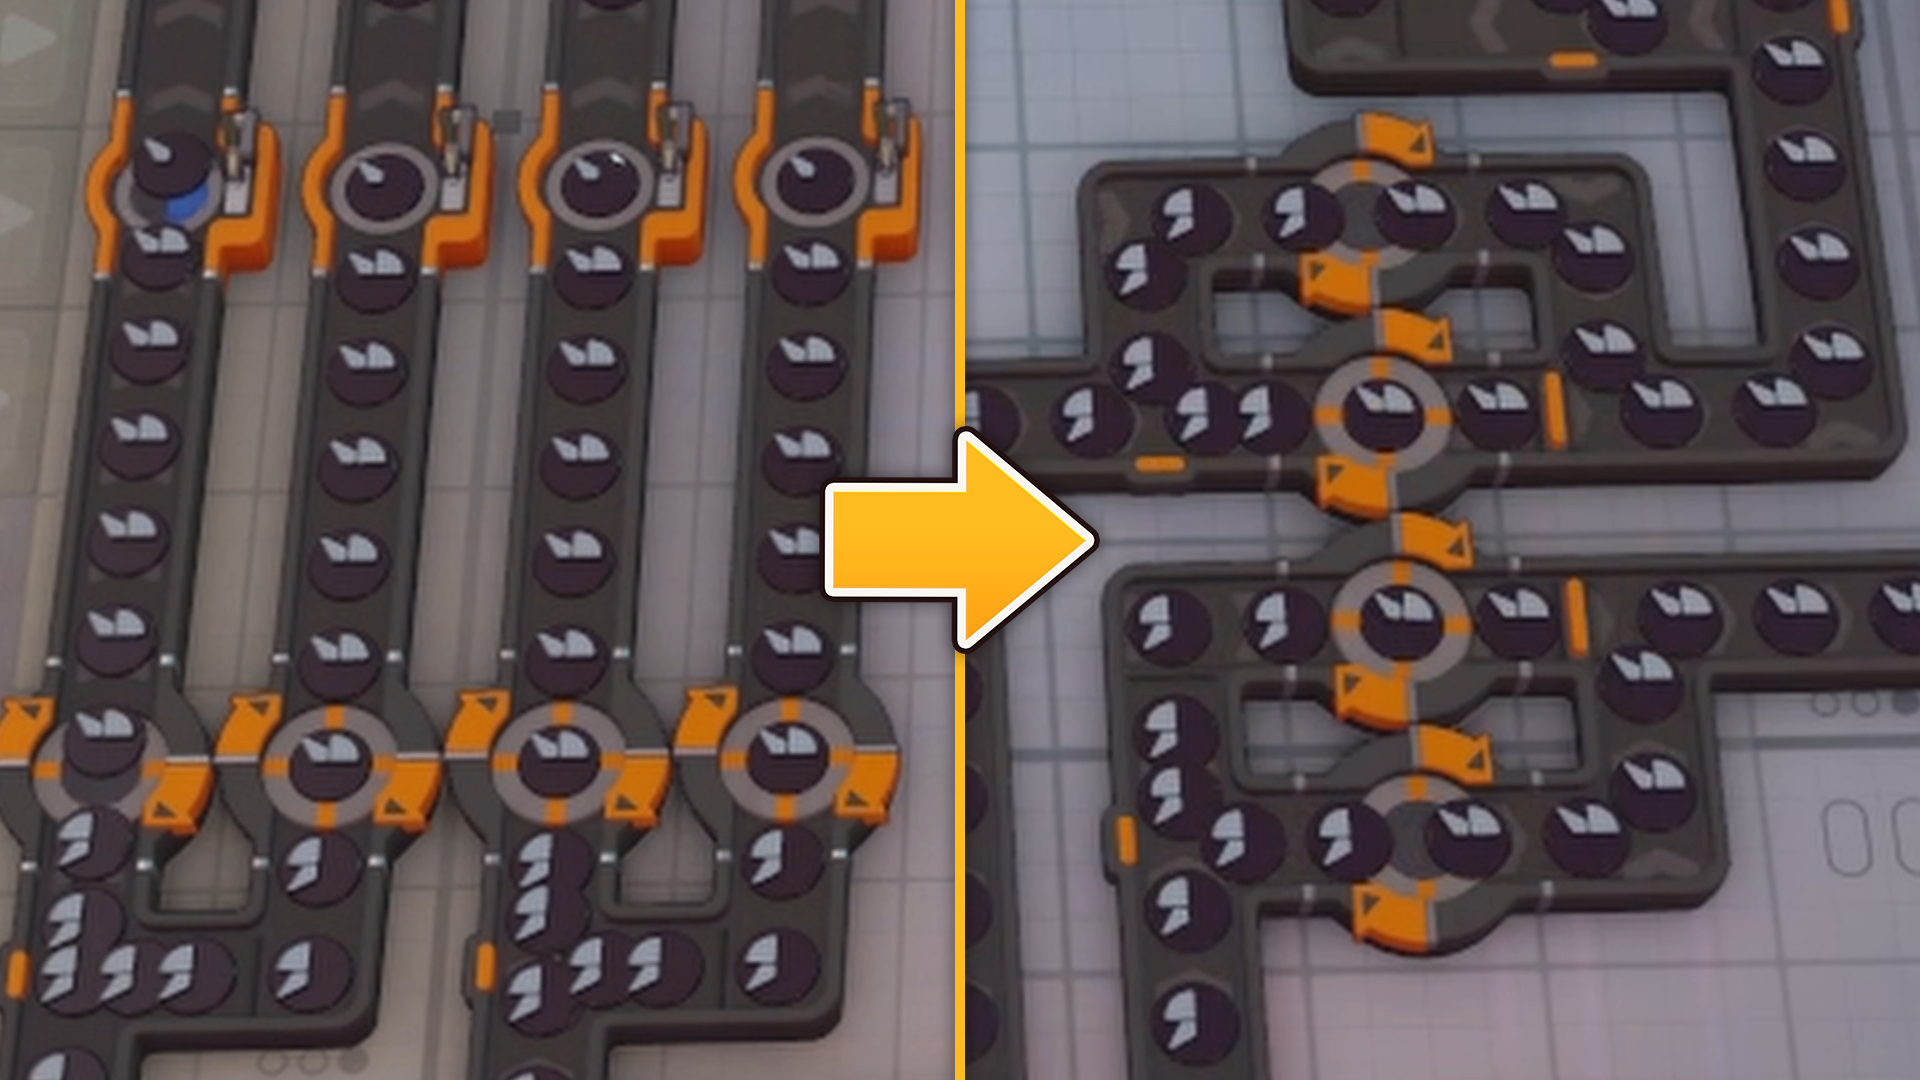
However, this can get confusing if you connect more buildings with different processing speeds directly to each other. If you need 3 of one building and 4 of the other, how are you going to connect them? Well, just merge the output into one belt before you try to split them again! You've already established that your buildings support exactly one full belt, so you can always return to that one full belt when you need to split its contents differently.
Space Belts
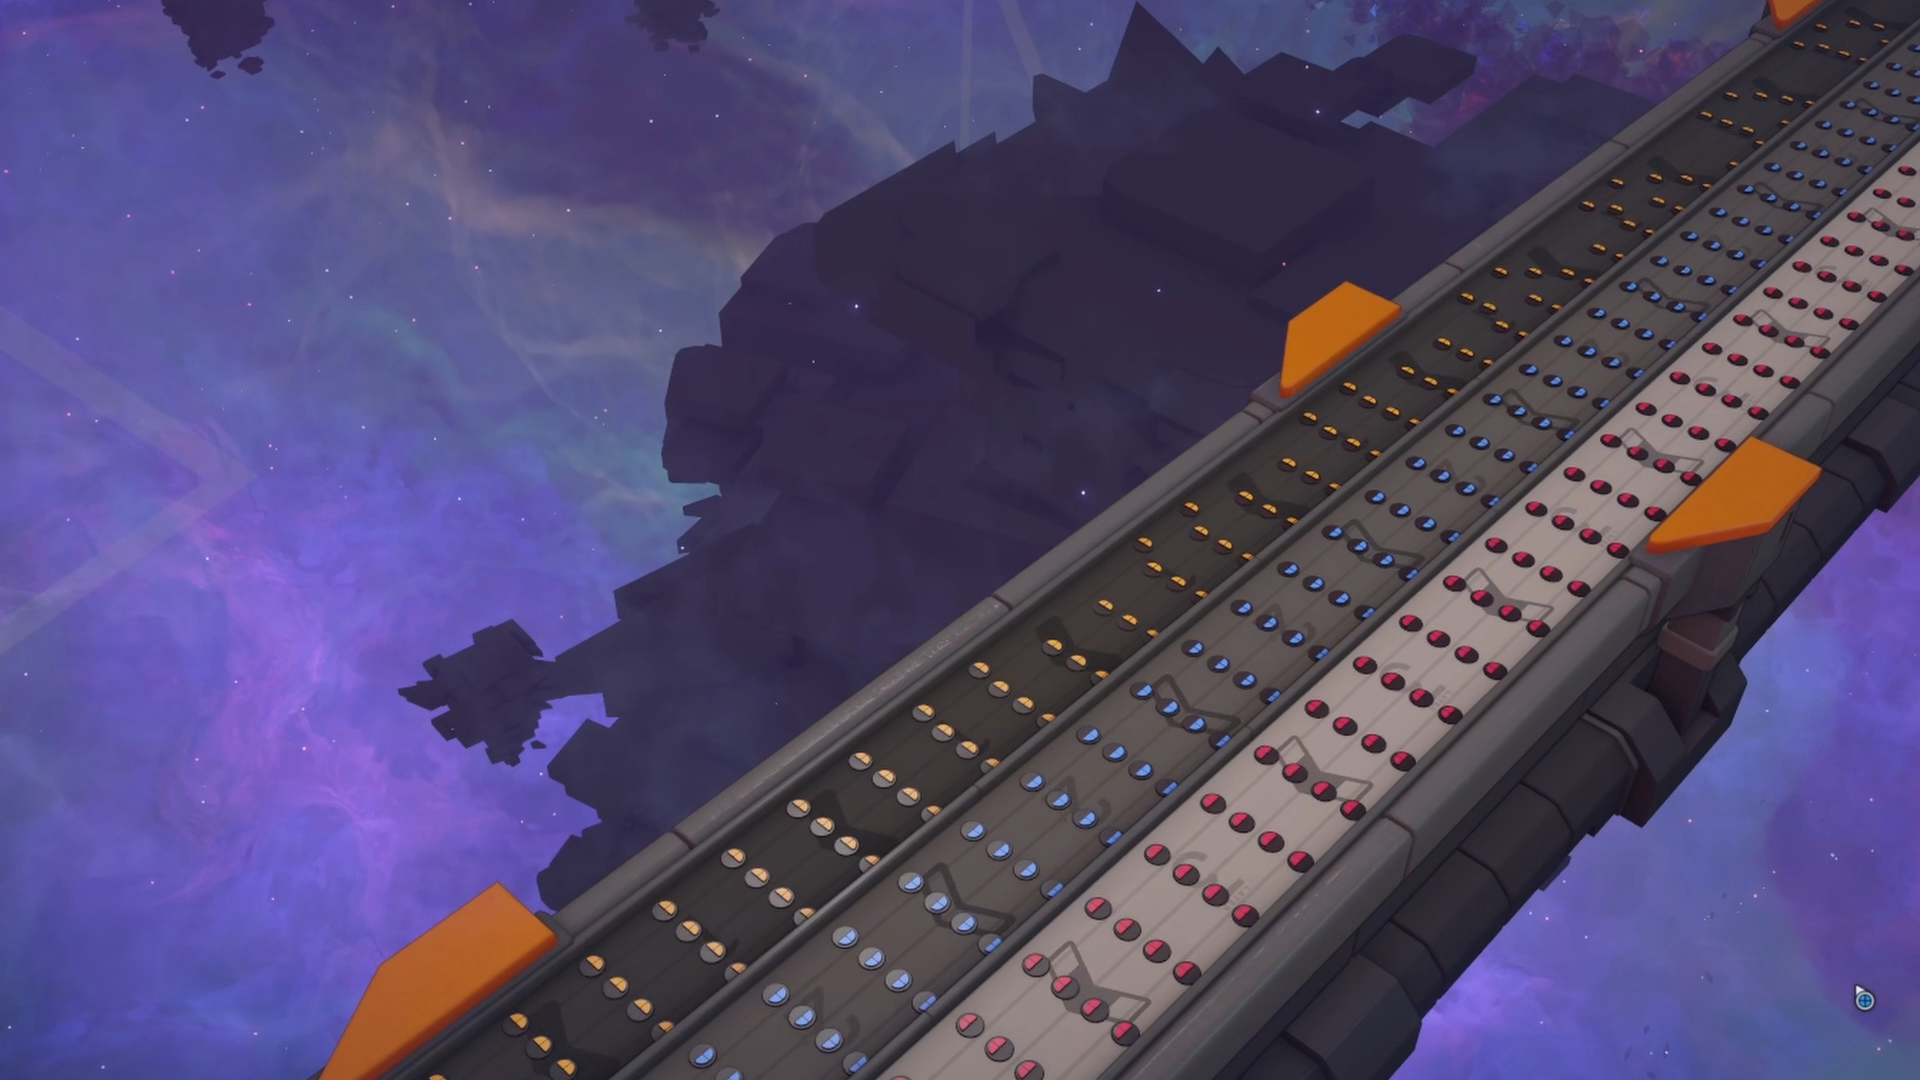
The same principle works for Space Belts. If you stick to a full Space Belt by default, you'll always know exactly how many platforms you need to connect it it. One Space Belt supplies up to 4 platforms when using all the layers of both the platform and the Space Belt, and you'll need 3 asteroid miners per Space Belt layer for a total of 12.
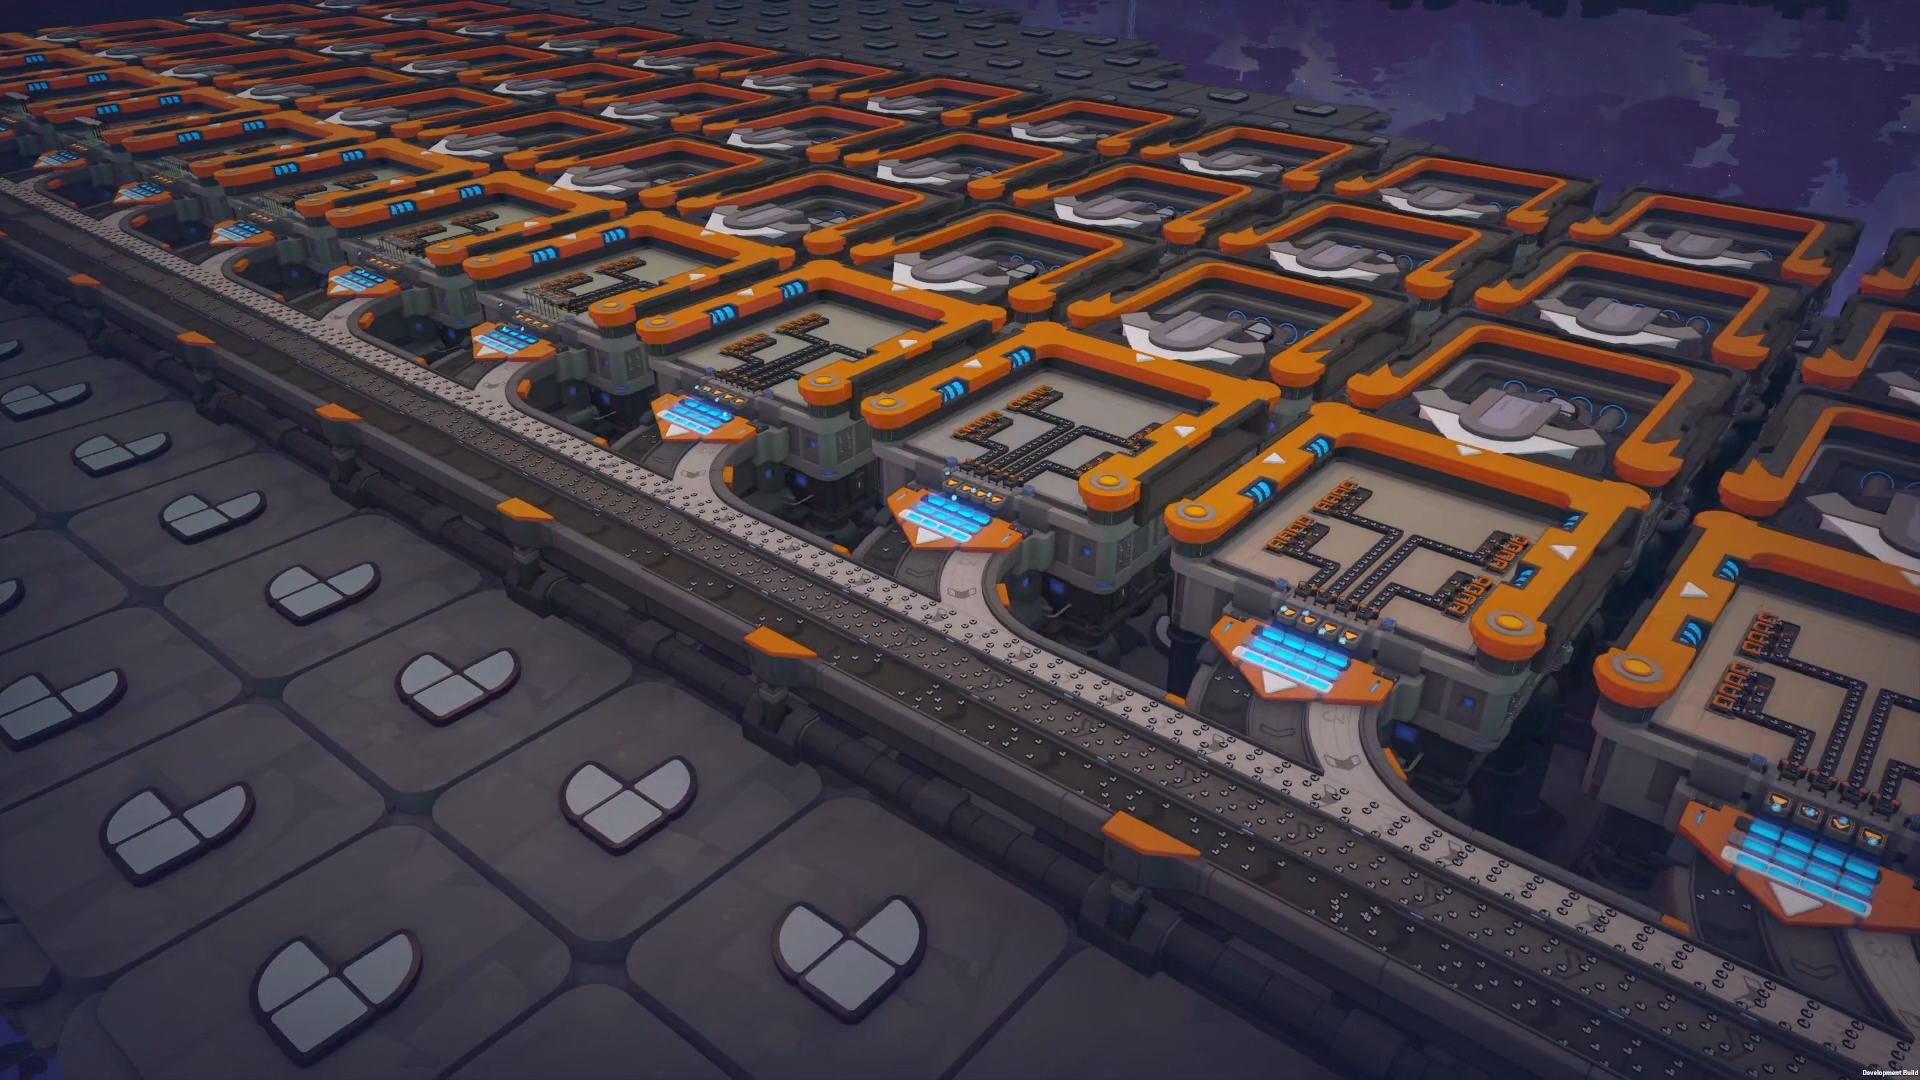
Space Belts are also a good way to figure out if there are any issues in the production line. Simply look at the flow; if it's not flowing smoothly, something somewhere ahead is backing up. Look further down the line, and if after a platform the Space Belt is no longer backing up or doesn't look completely full, you've narrowed down the issue to that specific platform.
Troubleshooting tips
Incorrect shape
Is the end product shape wrong? Maybe it's just one in four shapes that comes out different? If you don't immediately know where the issue could be, it's better to work backwards. Start at the end product and slowly work your way towards the start until you stop seeing that mistake, then look around on the platform you ended up at. You don't want to fix the end if the line first, as you may end up reworking something that would work perfectly if the supply was correct. Fix the issue, select your factory, then press \[I] to clear the belts for a clean slate.
Building Mistakes
It's easy to make small mistakes when placing building individually, so make sure of the copy and pasting tools available. It may not be worth making a blueprint for something small, but simply selecting something that already works and pressing Ctrl+C to copy and Ctrl+V to paste it somewhere else is almost always worth it. If you do make a mistake, you can always undo it with Ctrl+Z!
Mixing items on belts
Unless you're thinking with wires, it's generally not smart to mix shapes on a single belt. Sorting options are generally unlocked later in the game, and many setups are prone to mistakes when small changes are made earlier in the line. If a rogue shape ends up in the wrong place, things can get stuck. Instead, stick to the full belt rule of thumb for the production line of any shape.
With Space Belts however, you can use the different layers to transport different kinds of shapes without mixing them together!
We hope that was helpful in fixing an oopsie and or prevent future ones. Of course, it's not up to us to tell you how to make your factory, we really enjoy your spaghetti and sushi creations, but a systematic approach can prevent headaches.
There are some interesting things coming soon, including a first glimpse at the shapez 2 Puzzles project, so stay tuned for that!